MILKING A COW IS AN ACTIVITY NEW TO MOST OF US. VERY FEW HOMESTEADERS GREW UP WITH PARENTS OR GRANDPARENTS WHO MILK COWS. LEARNING HOW TO GET YOUR MILK COW READY TO MILK IS KEY TO A SUCCESSFUL MILKING SESSION. IN THIS TUTORIAL I SHARE MY TIPS FOR SUCCESS AFTER ALMOST 20 YEARS OF OWNING A FAMILY MILK COW.
THE MOST IMPORTANT PART ABOUT GETTING YOUR MILK COW READY TO MILK
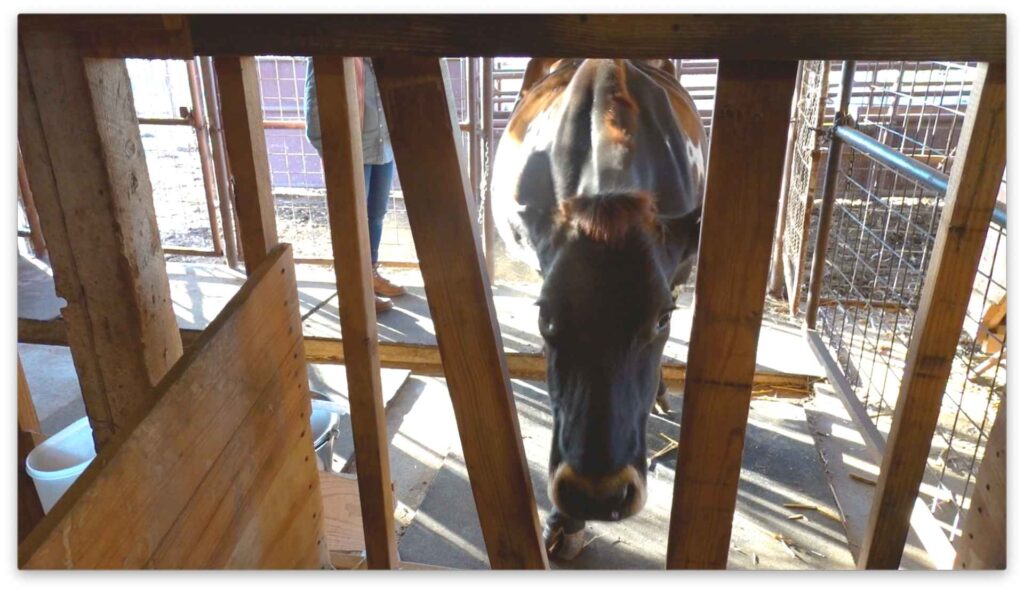
Your family milk cow thrives on routine, therefore she loves predictability. A well-trained cow brings joy and relaxation when milking your cow. However, a cow that is stressed and in a chaotic environment will be afraid and unpredictable. I strongly urge you to take the time to train your cow to a routine that is suitable for your family and the cow. After all these years of milking a dairy cow, things go smoothly if the cow can count on me to provide an established routine and calm environment. This step is first in the process of how to get your milk cow ready to milk.
CAN COWS TELL TIME?
Well, they have a keen instinct to do the same thing at the same time daily. It really is remarkable that your cow will be standing at the gate at the time you trained her to be there. Because of this, I recommend milking your cow at the same time daily. I milk at 9 am. and 6 pm. daily because that is most convenient for my schedule, so train your cow accordingly.
A WORD ABOUT TRAINING YOUR COW
I find that our Jersey cows learn a routine after practicing for 4 days. Once she has it she will predictably perform. Most of the time when the cow falls out of order it is because of human error. It will take some extra time and effort to train her but so worth it!
A HAPPY COW IS A STRESS-FREE COW
Let me tell you a secret that few dairy cow owner know. Cows have feelings and each one is unique. We know that when we are stressed or in an unhealthy environment we are more prone to illness and unhappiness. Your cow is the same! If she is put in stressful situations, even in a constant low level of on-going stress, this can really affect her health and ability to provide the best milk. This is important to know because you want the healthiest cow and milk possible. Take note that our health is a reflection of the food we consume so, happy cow = nutrient dense dairy products.
Our milking parlor is calm and free of visitors and pets. Remember dogs are your cow’s natural enemy. You may ask her to accept their presence but she will never like it. Horses and donkeys bully cows, especially sweet timid dairy cows.
I highly recommend reading the book “Keeping a Family Cow” by Joann Grohman to learn more about cow behavior. This is a book you will use time and time again so add it to your homesteading library.

HOW TO GET YOUR MILK COW READY TO MILK
Step 1: Prepare feed, milking equipment, and milking stanchion area
- You need to prepare her feed and put it in her clean trough. I scatter hay over her feed so it will take longer to eat while I am milking. I keep a wheelbarrow with hay nearby so I can give her more if needed to finish milking.
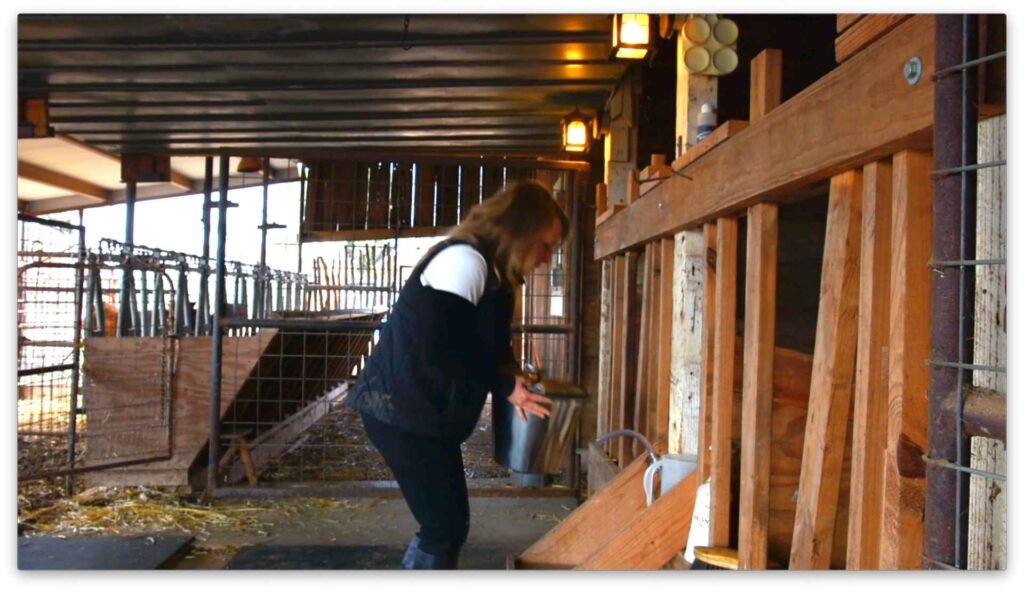
- After the feed is in order, I go into the milk room to get the milk bucket ready. I assemble my stainless steel milk bucket with a screen and lid. (made in America) LOOK HERE TO SEE THE MILK BUCKET I USE.

- Fill a container with a 1/2 gallon of warm water and 1 teaspoon of apple cider vinegar. I do not use soap products to clean. If you use anti-bacterials, they will kill the good bacteria along with the bad.
- Take the milk bucket and wash water to the milking stanchion.
- Make sure all equipment is in good working order and check for any hazards for you and your cow.
- Go through your checklist to make sure everything you need is within reach. There is a printable checklist below.
- Check for slippery surfaces and sharp objects.
- Make sure all gates are secure. Most of the farm accidents I hear of have a gate involved. Our milk cow Belinda weighs 1200 pounds so if she hit the gate into you there could be a serious injury.
Step 2: Let your cow into the milking area
- Time to let your cow into her milking area. Good training is important here so you can avoid being in her way and the gate.
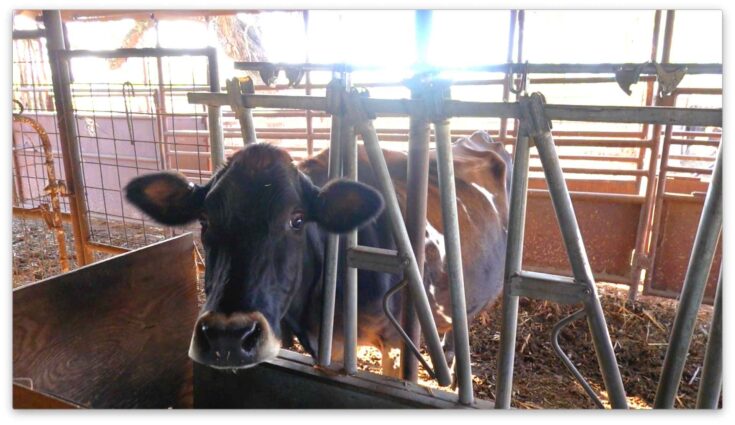
- After your cow is in her stanchion, close it.
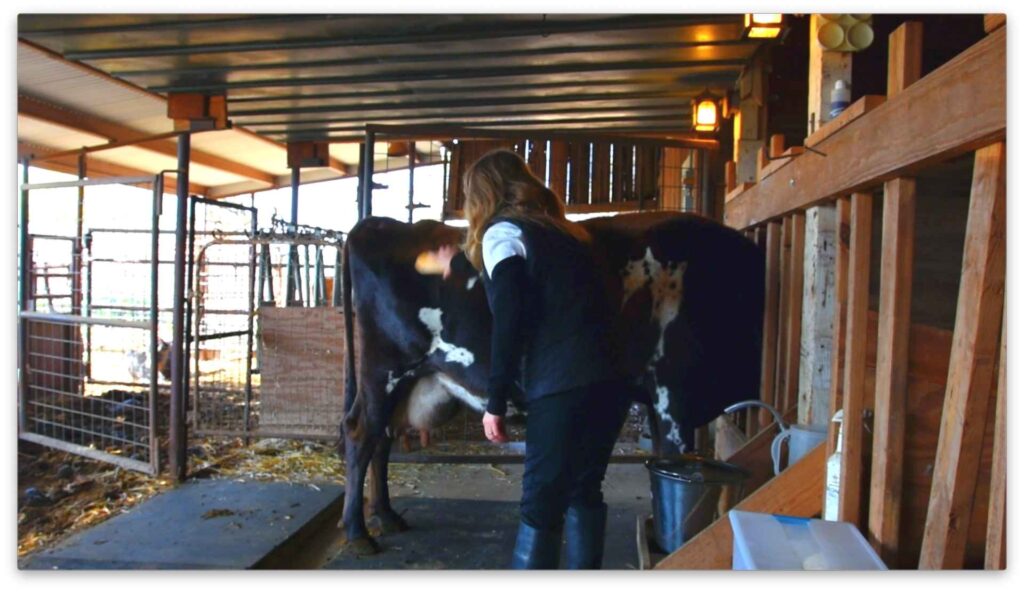
- Brush debris from your cow starting at the top and work downwards. It is important to brush under her belly and in between each quarter. Any debris left behind will drop into your milk.

- This is not the time to use fly spray! If you do so they will end up in your milk. I find it best to spray her the evening before. Please use organic or make your own spray using essential oils. You can lay a towel across her back to deter flies.
- Put on your gloves. I wear gloves to milk not because of the cow, but because I want to avoid passing anything to her such as MRSA.
- Clean the cow’s udder with the warm water. This will stimulate milk let-down and most likely milk will start dripping. Next, dry her udder very well because you want to avoid drips in your milk bucket. I use a separate paper towels for each quarter.
- *If needed, this is the time in the process to give the California Mastitis Test. We have an instructional video to help you give the CMT right here.
Step 3: Time to milk your cow
- I put a pedestal under the cow for the milk bucket to sit on while I milk.
- Put your milking stool beside the cow.
- Time to take the lid off of your milk bucket and place it under the cow. I like to keep the handle on the side closest to me just in case I need to grab the bucket and stand up quickly. On the video I discuss how my cow is trained to hold position until I stand up. So when I stand up I certainly want to have my milk bucket handle in my hand. Belinda is very still when milking but will shift once I stand. She is a remarkable cow and you can train your cow to do the same.
- YOU ARE READY TO MILK YOUR COW.
- Milk cows are traditionally trained to milk from her right side. If you plan to milk from her left side she will need some training first. Remember even a small change to us can be a big change to her.
There will be an instructional blog post and video continuing the process to milk a cow. Part 2 will feature milking your cow by hand, straining the milk, and cleaning equipment. Please check back with us weekly!
TIPS FOR HOW TO GET YOUR MILK COW READY TO MILK
- Being prepared and organized makes a tremendous difference when milking your cow.
- Establish a pleasant routine for you and your cow.
- Practice this routine for about 4 days before expecting your cow know the routine.
- Avoid stress
- Make sure your milking area is safe from hazards, such as swinging gates and sharp objects, for you and your cow.
Milking a cow is one of life’s treasures. My hope is that you will look forward to seeing your cow and milking her daily. These tips will help you develop a daily routine which in turn will reward you with one of the healthiest foods on the planet.
Happy Milking,
Caren
HOW TO GET YOUR MILK COW READY TO MILK CHECKLIST

Instructions
- Milk Bucket
- Warm wash water (1/2 gallon with 1 teaspoon of apple cider vinegar)
- Brush
- Milk Stool
- Gloves
- Paper Towels
- Pedestal to sit milk bucket on to keep the bottom clean
- California Mastitis Test
- Fly Spray or a towel
- Feed trough is ready to go with hay close-by if needed
Notes
- Being prepared and organized makes a tremendous difference when milking your cow.
- Establish a pleasant routine for you and your cow.
- Practice this routine for about 4 days before expecting your cow know the routine.
- Avoid stress
- Make sure your milking area is safe from hazards, such as swinging gates and sharp objects, for you and your cow.


Hi I watched your video and saw that you use a metal strainer/sieve in your bucket while milking. May I ask where you got that. I have always used a big paint strainer, but really like the one you use. I believe it would be more sanitary.
Also do you use any kind of pre or post dips?
Thanks Pam
Hello Pam,
I love the stainless steel bucket and strainer. I purchased the set from Bob-White Systems.com. Let me know if you need a link.
We do not use any kind of pre or post dips. Thank you.
Thanks for the info.
I’ve really been enjoying your videos.
Pam